 "StudyStudyStudy" (jesterjin)
04/27/2015 at 15:45 • Filed to: 240z, project car
 6
6
 7
7|
"StudyStudyStudy" (jesterjin)
04/27/2015 at 15:45 • Filed to: 240z, project car | 6
| 7 |
Now where does one go from here? The answer is surprisingly suspension.
Well in truth what would be preferable would be to route the hardline for the brakes and fuel. To route the fuel line, we need to run the brake line so they can share the same bracket, to run the brake line, we need to mount the brakes, to mount the brakes we need to mount the struts, so suspension it is.
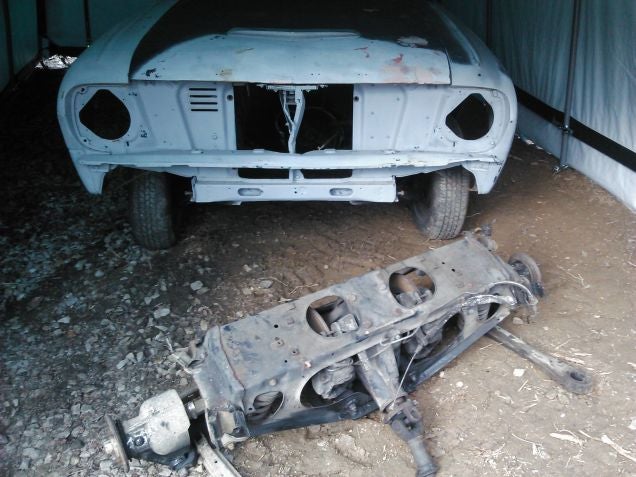
We start with pulling the dirty units off the car.

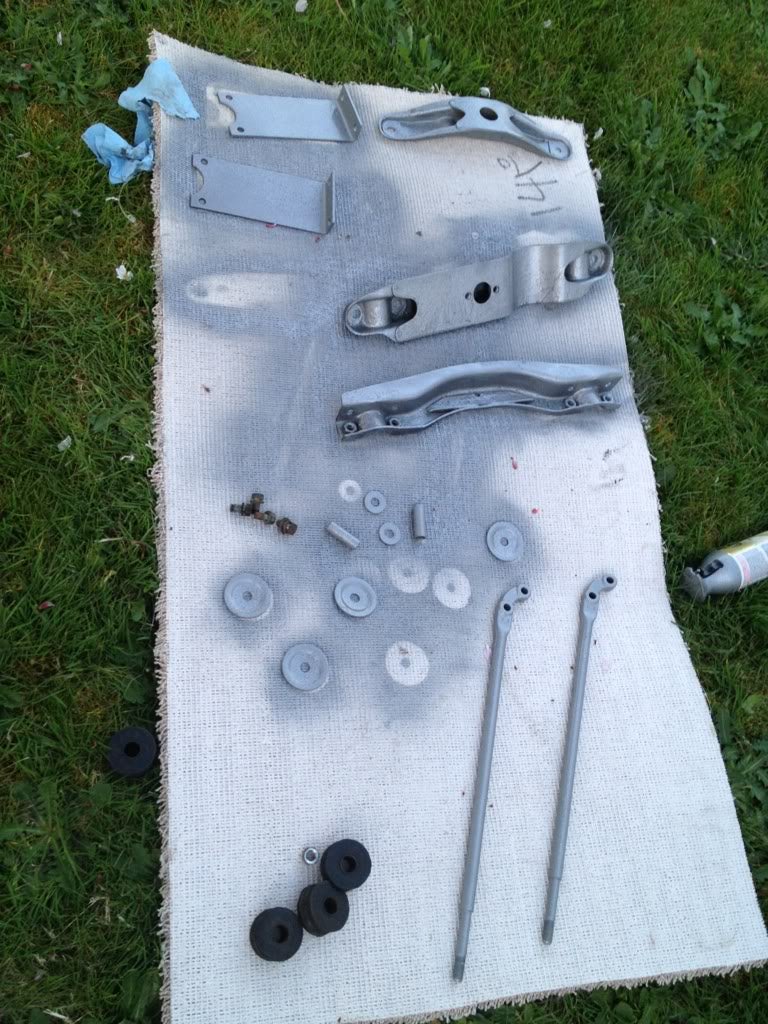
Once the parts are off they are wire brushed and stripped down to the basic component.
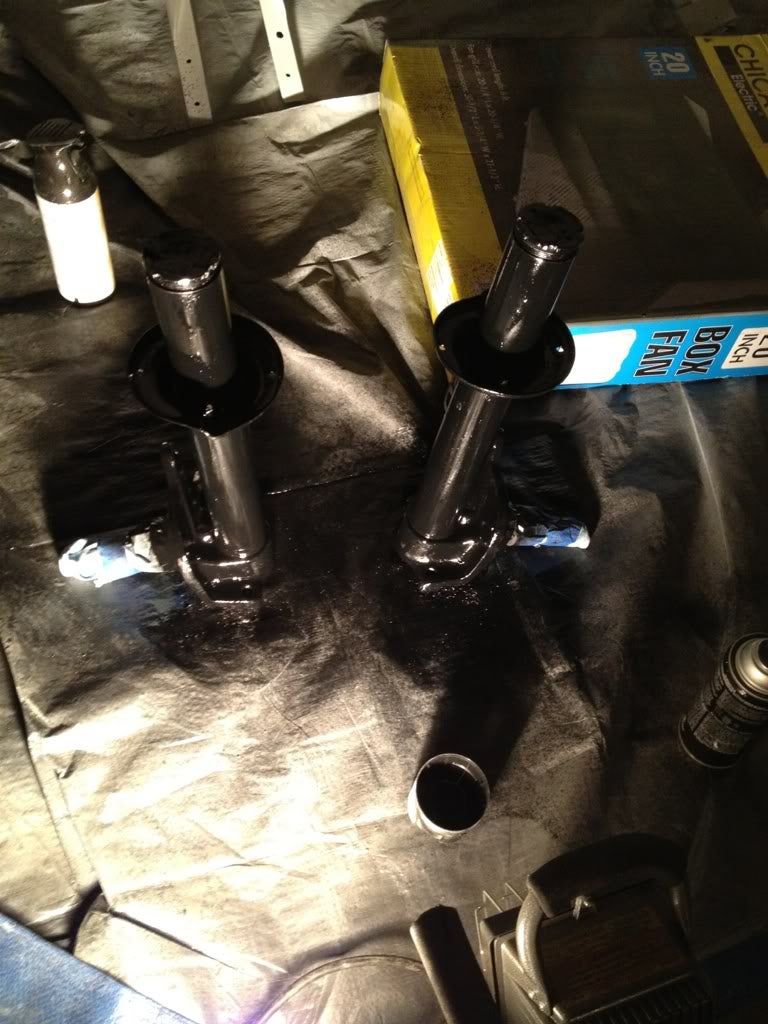
Add a splash of paint and we are ready to go.
The hubs are removed, cleaned painted, and now have the longer and new nissanquest studs pulled into the hub.
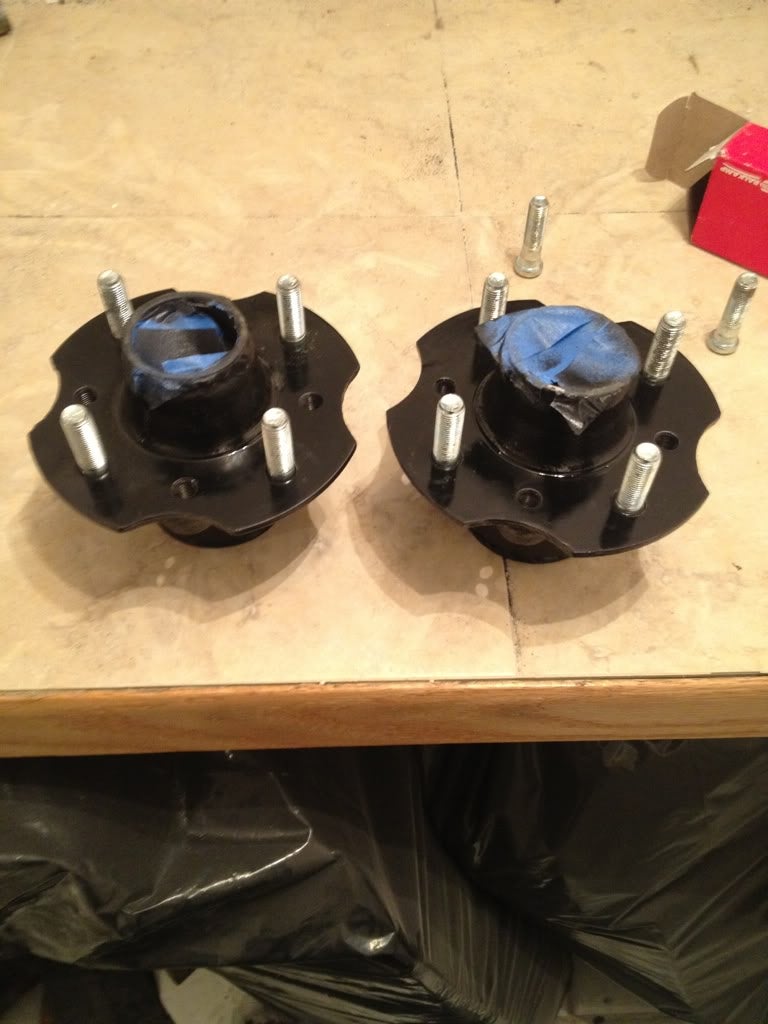
To add the new bearings, the outer race has to be chilled to shrink the material and ideally the hub heated up to expand. Given that my hubs were already painted, I threw the bearings in the freezer at home. When I was ready I grabbed them and rushed to the garage to install them. One side went in with the bearing drift without problem, unfortunately I did not get to the other side fast enough and...
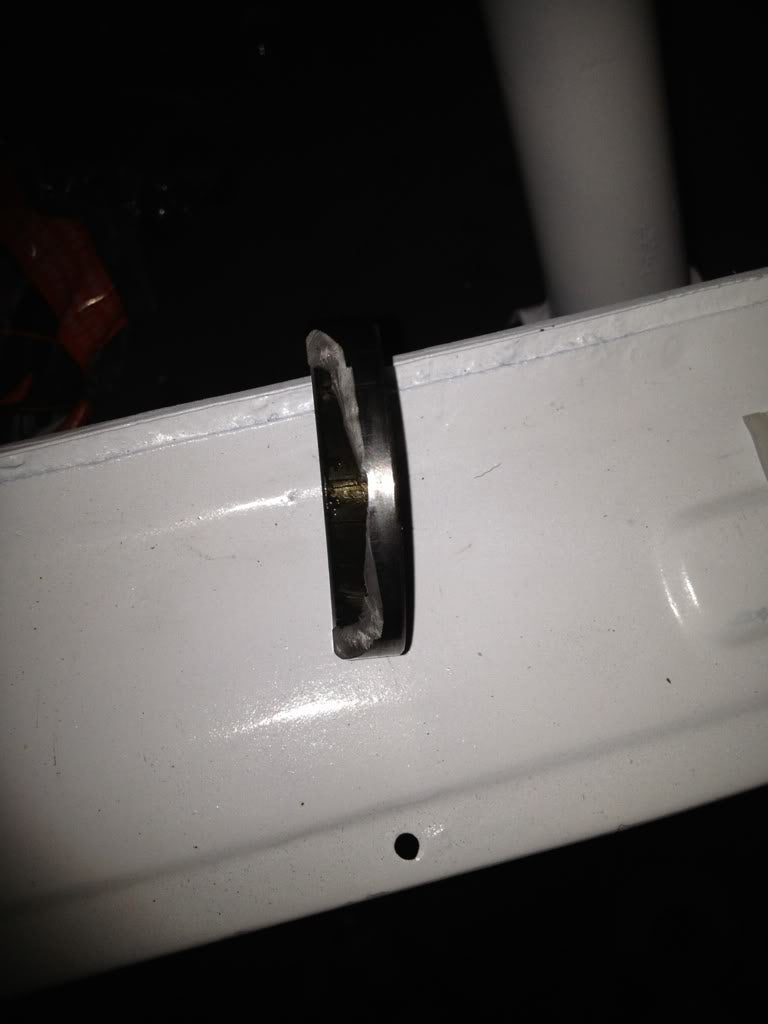
The new race just shattered. So off to the store to get a new one and repeat.
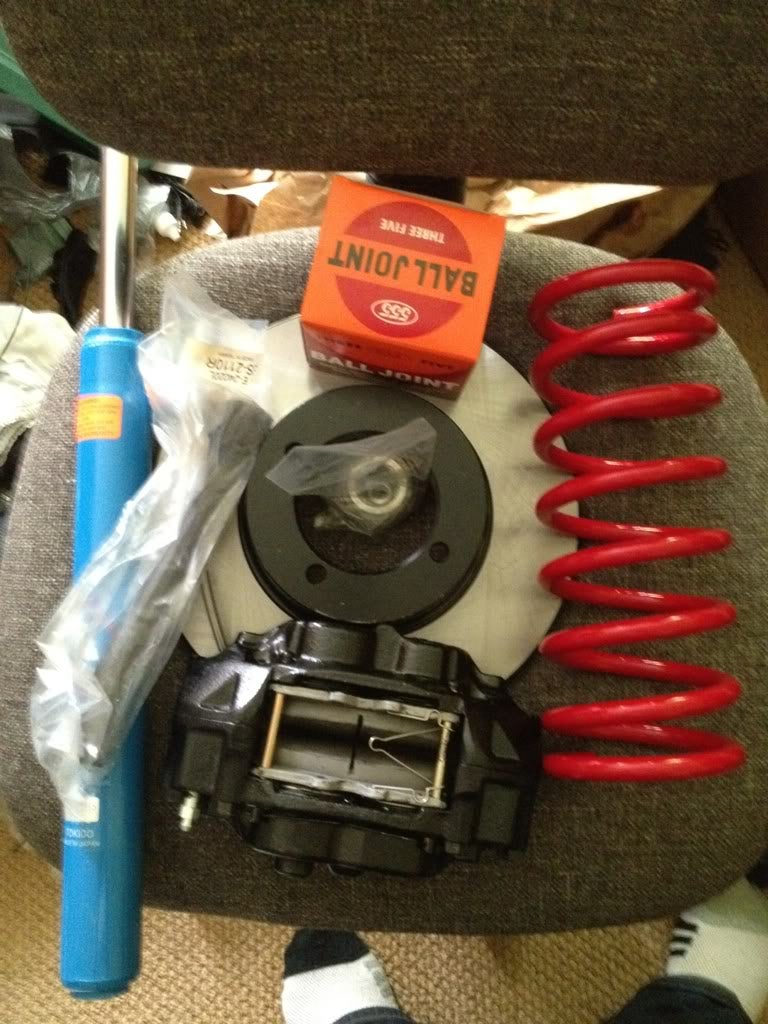
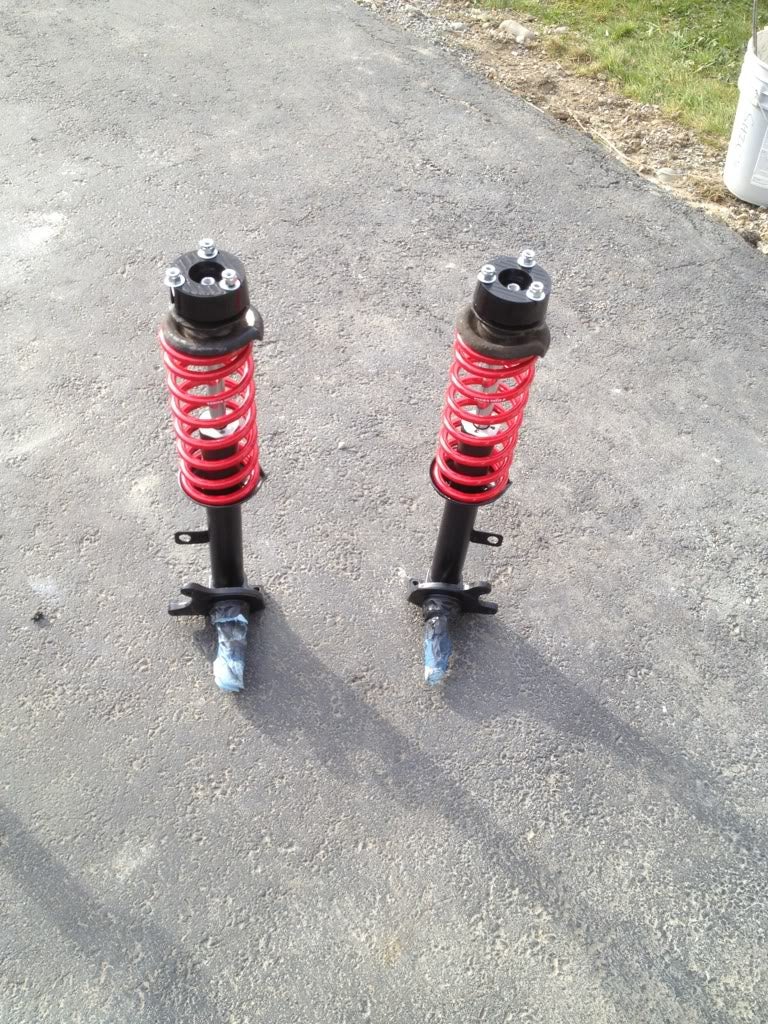
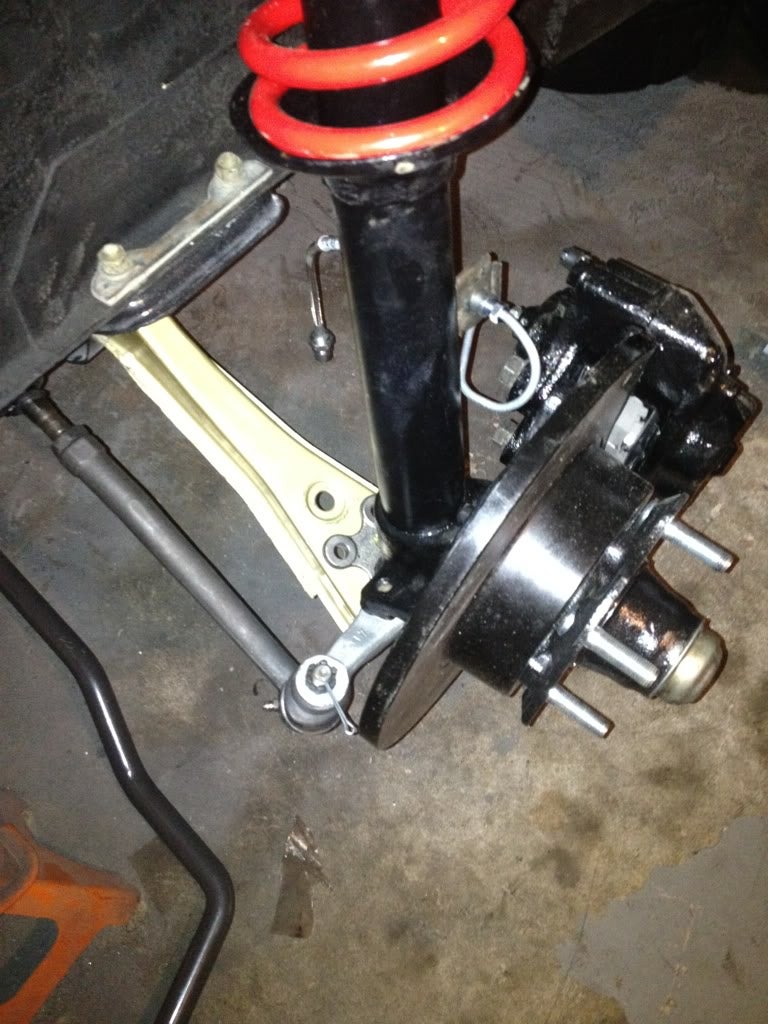
Then time to open all the boxes and get all the new parts together, new ball joint, strut cartridge, 280z aftermarket springs (higher rate, linear), new rotor, and the toyota 4x4 caliper along with new tie-rod ends and camber bushings.
And install!
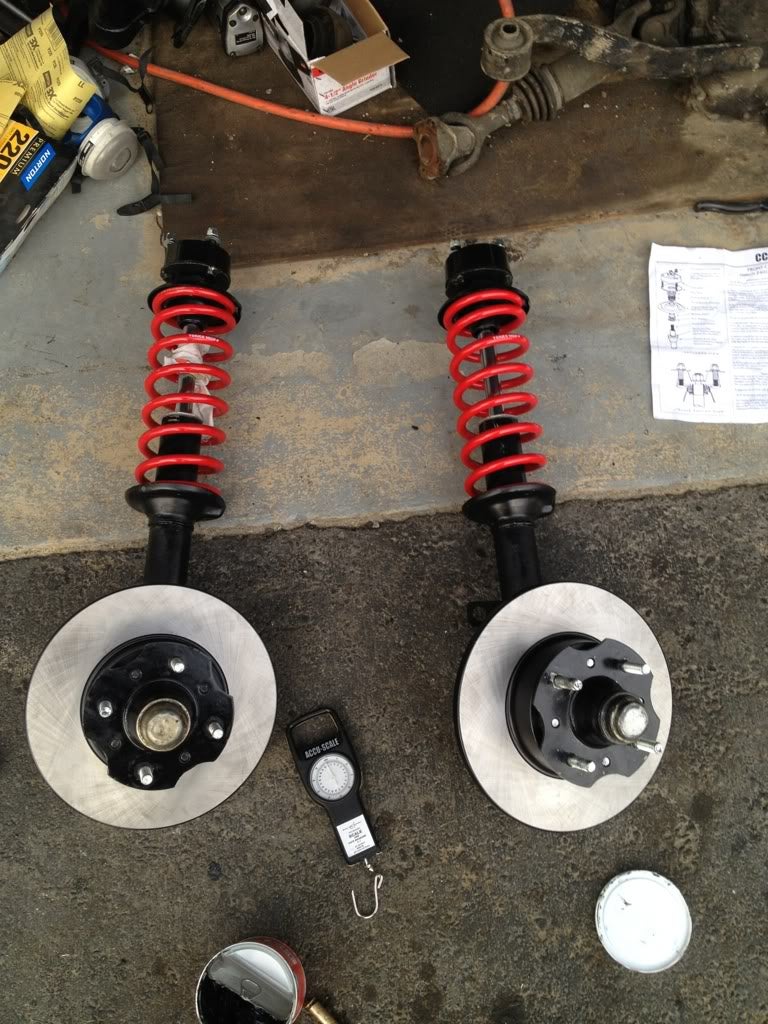
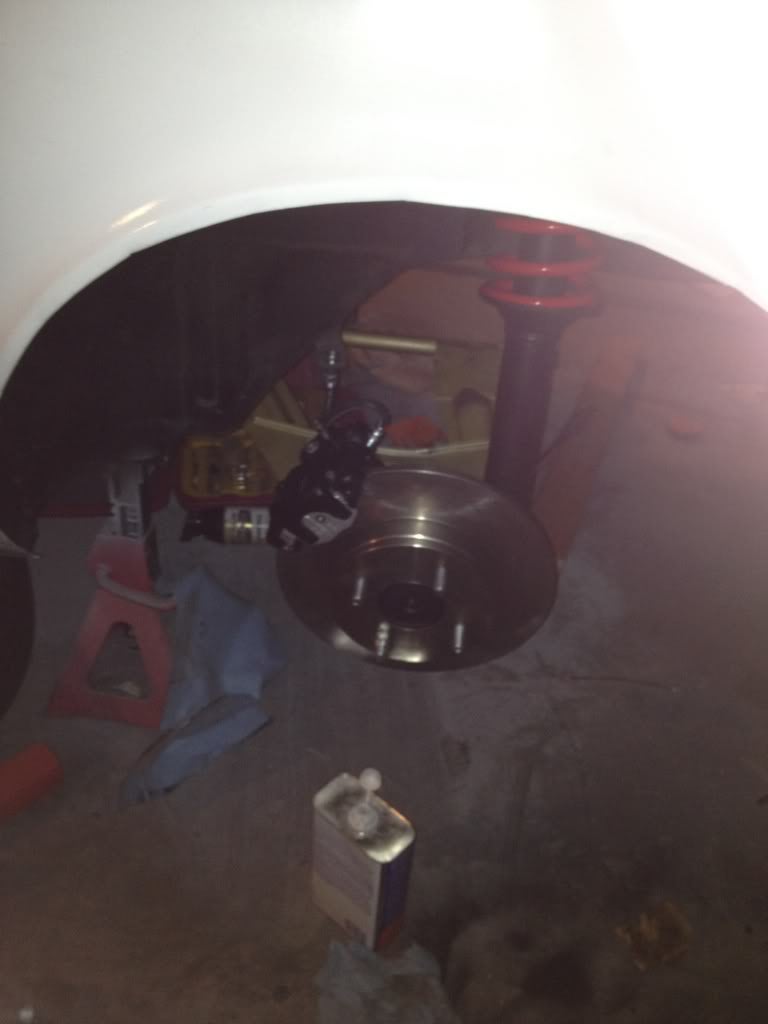
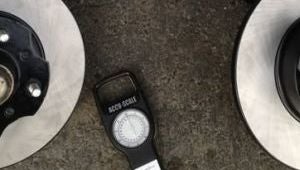
The hubs which are packed with fresh high temp grease are then installed with the rotor. Note the fish scale which has to be used to put the right amount of preload onto the bearings to ensure proper spacing.
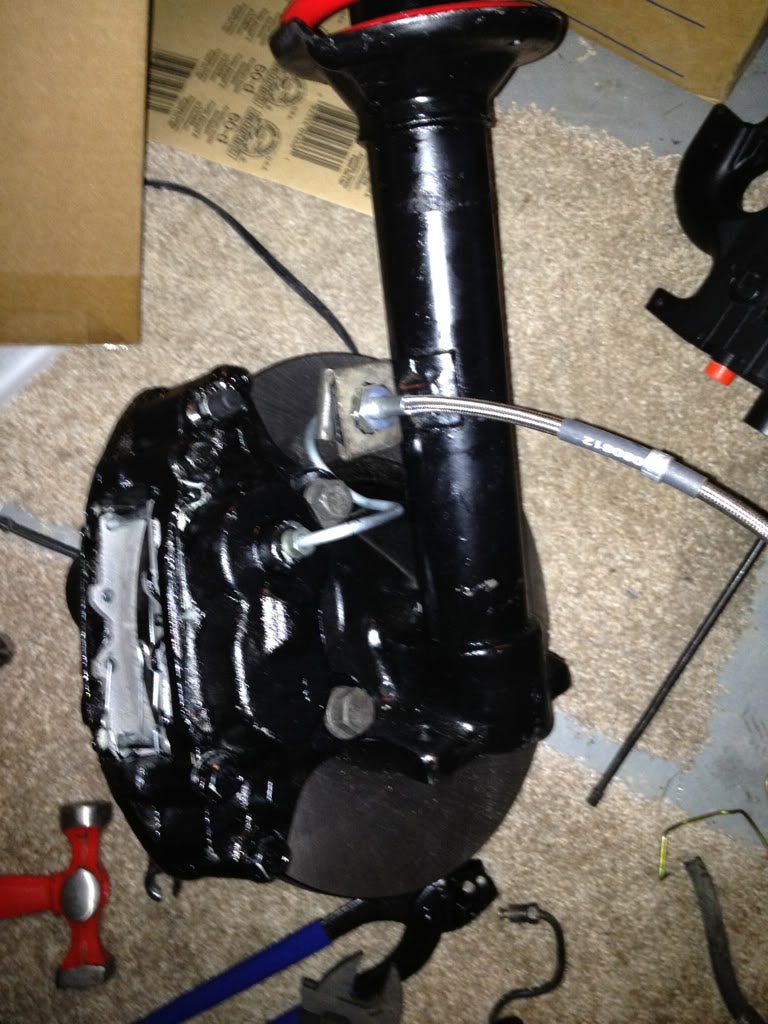
New brake lines are bent up for the caliper given their different size from the stock calipers and the SS flexible brake lines are also installed to rid the front of any potential slop from the old lines.
The control arms that were sand blasted earlier have the old bushings pressed out, a little stiffening done, and new bushings pressed in.
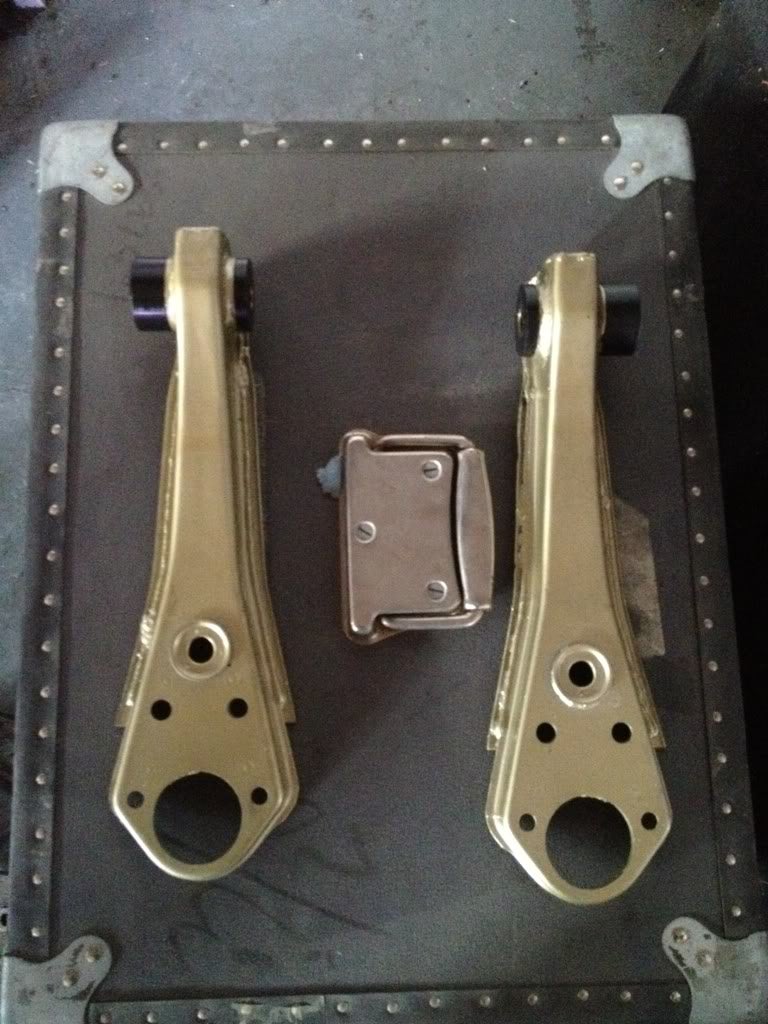
Then combined with the new ball joint and steering knuckle and tie rod everything is bolted in and topped off with a cleaned up mention rod with a spherical ball/socket bushing.
The steering rack is cleaned up/regreased. The nuts for the tie-rod really fought me and even with a torch they wouldn’t come free. I eventually caved and took it to a shop to remove the nuts.
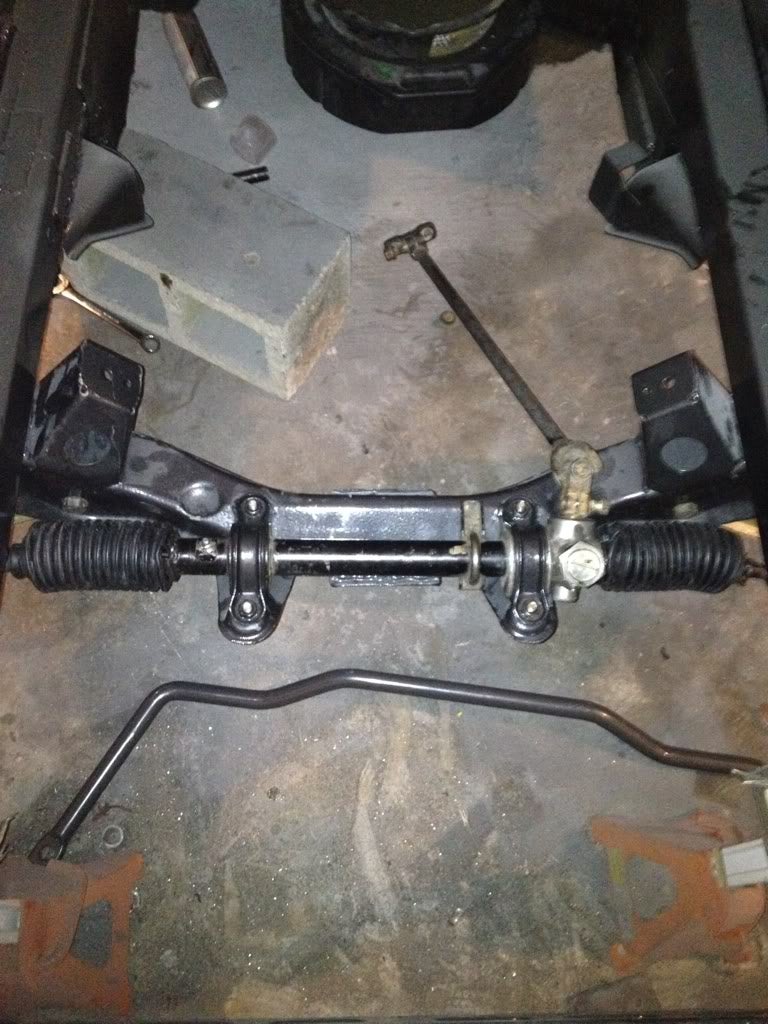
Bolted in with the freshly cleaned and painted crossmember.
The remaining suspension bits were painted to add some fun contrast that no one will be able to see.
Now the rear right? Well first I decided I wanted the differential all ready to go in. That way I can see if there is adequate clearance to the fuel cell and figure out the fuel pump mount and routing.
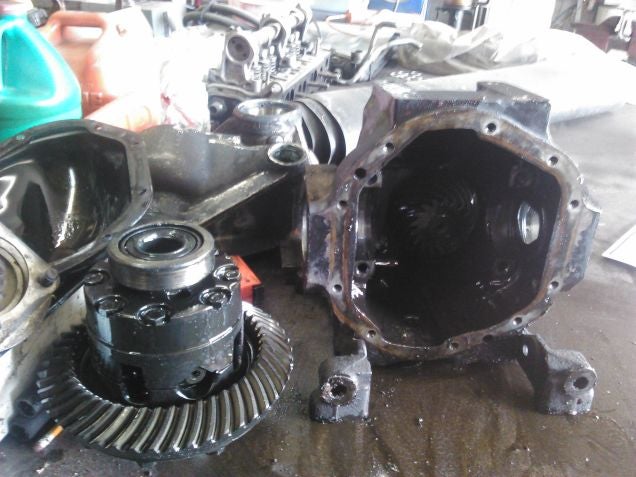
So in comes the 4.11 Nissan 200sx turbo rear differential. Another trip on the ferry to pick it up from a nice gentleman, he had 4 or 5 Z’s stored and even had a picture where he spelled out the letter Z with all the Z cars he owned. 50$ and I walked away with the differential. My line of thinking was along the old school method. If the engine isn’t powerful at least make the gears short so it feels fast :).
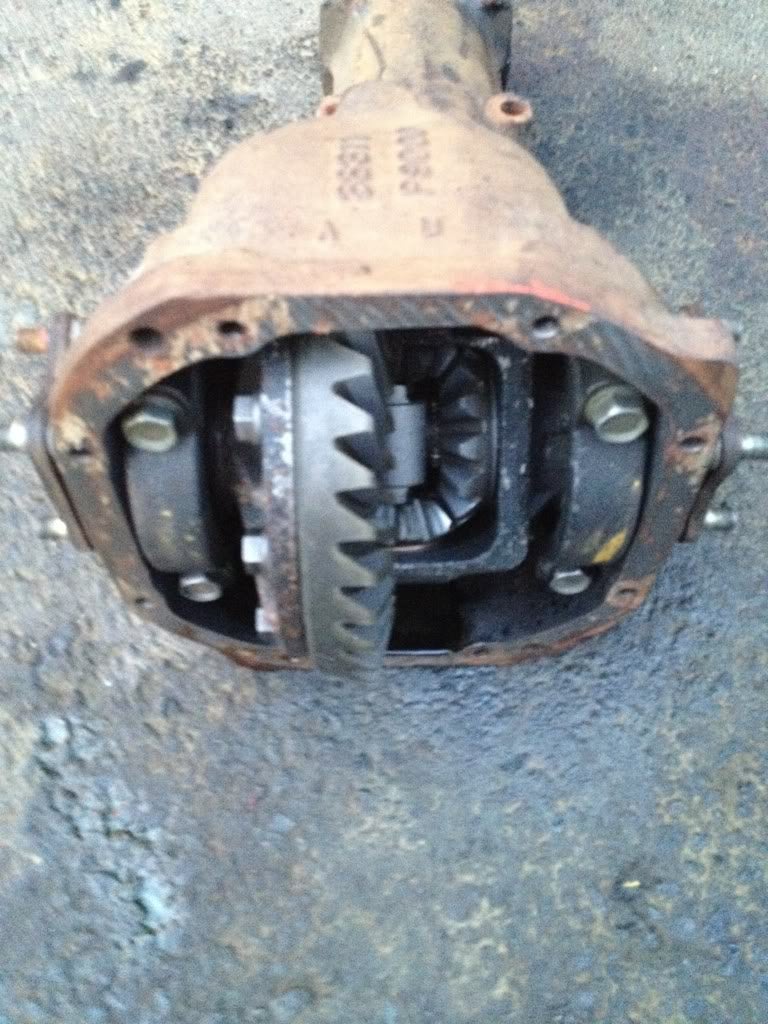
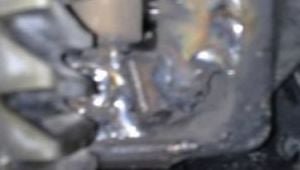
I am going to loose some of you here, but I’m going to pull the “I was poor” card and decided to weld it up for some cheap posi.
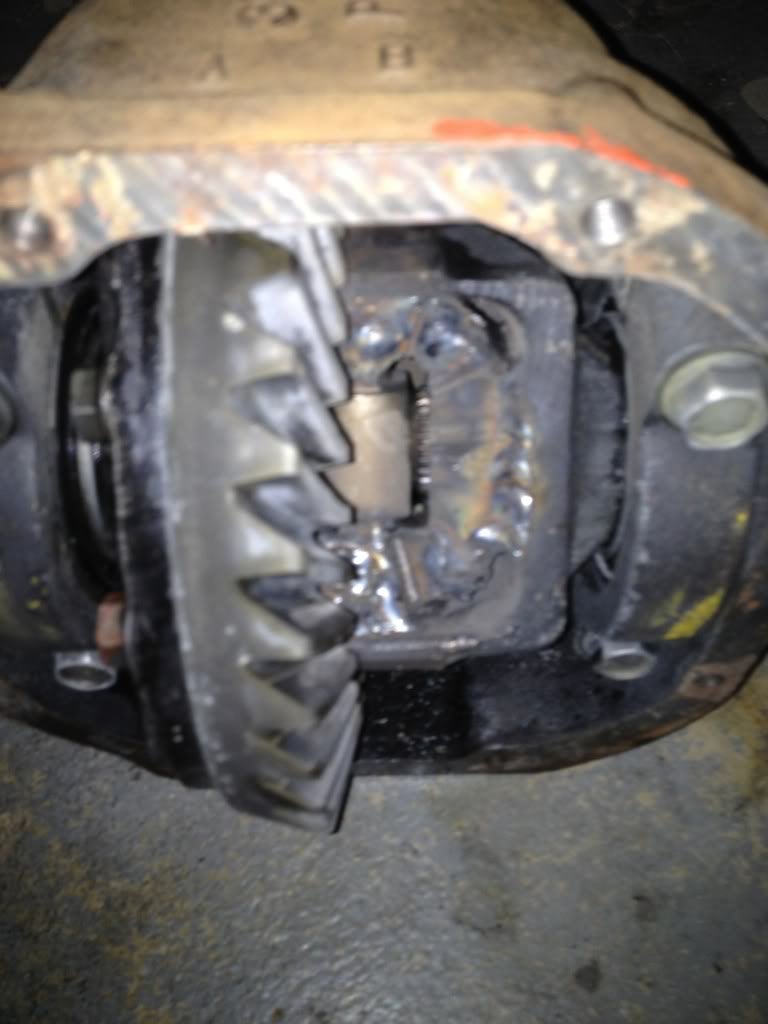
There are some off camber hills where the car is stored/where I live/where I work which has left me with spinning one wheel in the air in my DD, so I decided I could live with a chattering tire if it meant that I could at least get over the hill.
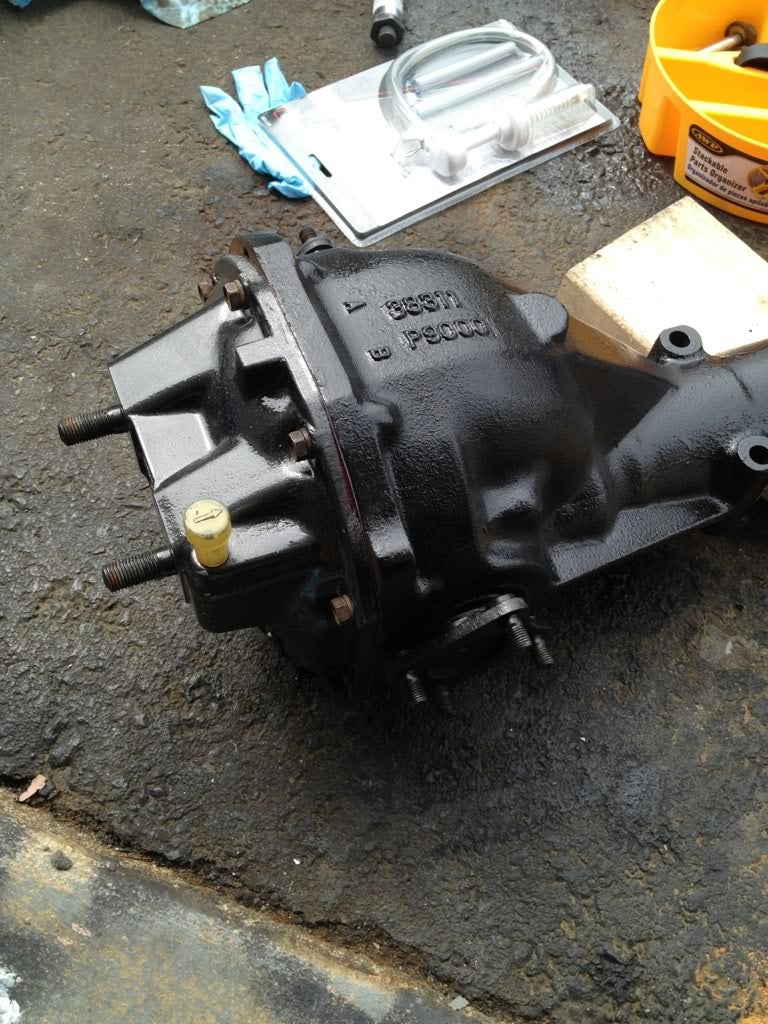
With that all finished, new oil was added the case cleaned up and coated in paint.
With the differential finished, now came time to address some other issues. The Z had a fairly poor design where on acceleration the diff would pull away from the rubber mount which would tear and leave you with a thunk any time you loaded up the driveline. The cure was to make a mount that would be on top of the differential with a compression mount that would compress on load thus preventing premature wear.
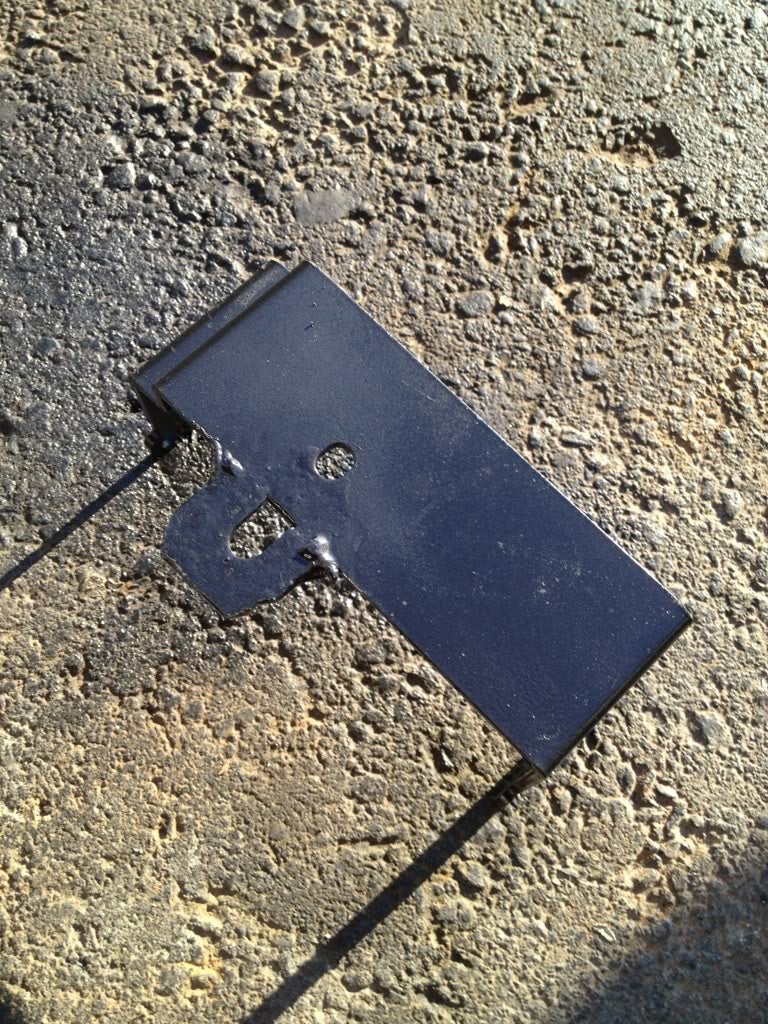
I ordered one up from a local, unfortunately given some lack luster information on the internet regarding the slight differences in the chassis, my mount need a little extension to get to the right place.
Then I could mount the diff along with the rest of the rear suspension.
Lessons learned:
Tension rods have a lot of tension even with deteriorated bushings, one should be careful when releasing them.
Steering rack bushings need a bowl of boiling water to loosen them up so they fit nicely.
Do one side of the bearings at a time, the temperature dependent shrinkage is vital for easy fitment.
If you weld your differential, it will heat up the insides and dry all the oil out and will seize. Don’t panic, add oil and it should spin freely again.
Costs:
50 - 200sx turbo 4.11 differential
50 - RT mount
30 - Energy suspension transmission mount for RT mount
20 - adjustable energy suspension mount (trim to use) for the bottom.
100 - paint
Subtotal: 250
Total spent: 7250
!!! UNKNOWN CONTENT TYPE !!!
!!! UNKNOWN CONTENT TYPE !!!
 RamblinRover Luxury-Yacht
> StudyStudyStudy
RamblinRover Luxury-Yacht
> StudyStudyStudy
04/27/2015 at 16:24 |
|
I know this dial gauge business well. Of course, the other way is to check end float with one of these jobbers:
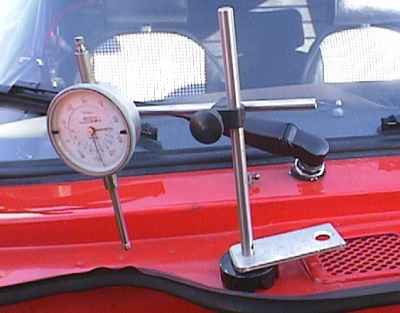
Some cars are cheeringly insane enough to require both on different things.
|
StudyStudyStudy
> RamblinRover Luxury-Yacht
04/27/2015 at 16:32 |
|
Oh yes, definitely need to use something of that nature for the engine and the driveshaft to test runout. I ended up going to a shop as the price for the size I needed was quite prohibitive.
|
RamblinRover Luxury-Yacht
> StudyStudyStudy
04/27/2015 at 16:37 |
|
A Jaguar rear suspension setup uses turnover torque (fish scale or similar) for the pinion, and for the stub axles, but an end float gauge for the hub bearings. I just did the final touches on mine this past weekend.
Pic (before teardown):
It’s limited-slip, which I got a new clutchpack for.
 TxBrumski
> StudyStudyStudy
TxBrumski
> StudyStudyStudy
04/27/2015 at 17:34 |
|
Props.

|
StudyStudyStudy
> TxBrumski
04/27/2015 at 20:09 |
|

It will be fine...I hope :)
|
StudyStudyStudy
> RamblinRover Luxury-Yacht
04/27/2015 at 20:12 |
|
Huh, I suppose if there is a precise enough measurement, the distance to the seat could be used to measure distance. I would just worry such a measurement doesn’t account for manufacture difference in bearing manufacturing.
Mmm LSD. I really need to look into acquiring one of those along with some nicer axles.
|
TxBrumski
> StudyStudyStudy
04/27/2015 at 21:52 |
|
Can’t wait to see the finished product. Keep it up!